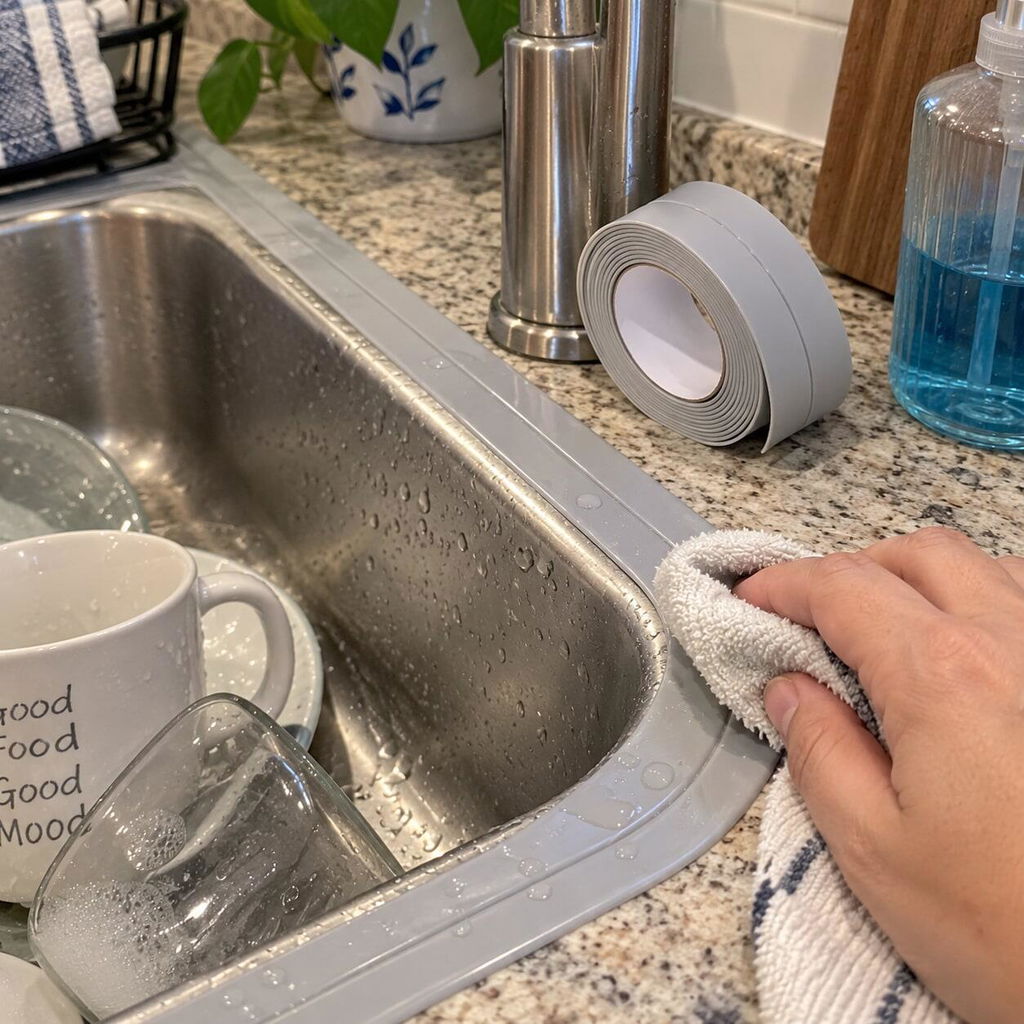
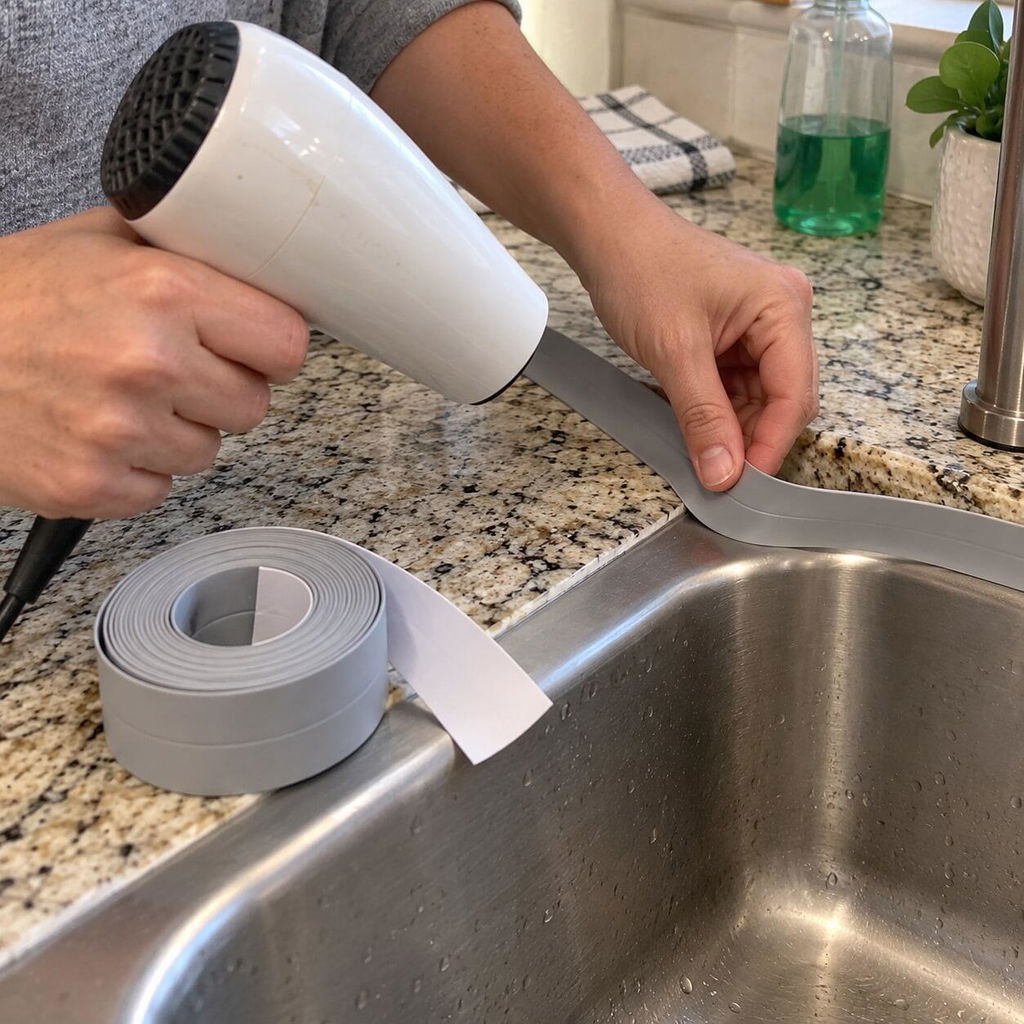
I cleaned and dried the area first, then folded the gray strip into the sink seam. The backing peeled steadily and the finished edge looks much tidier.
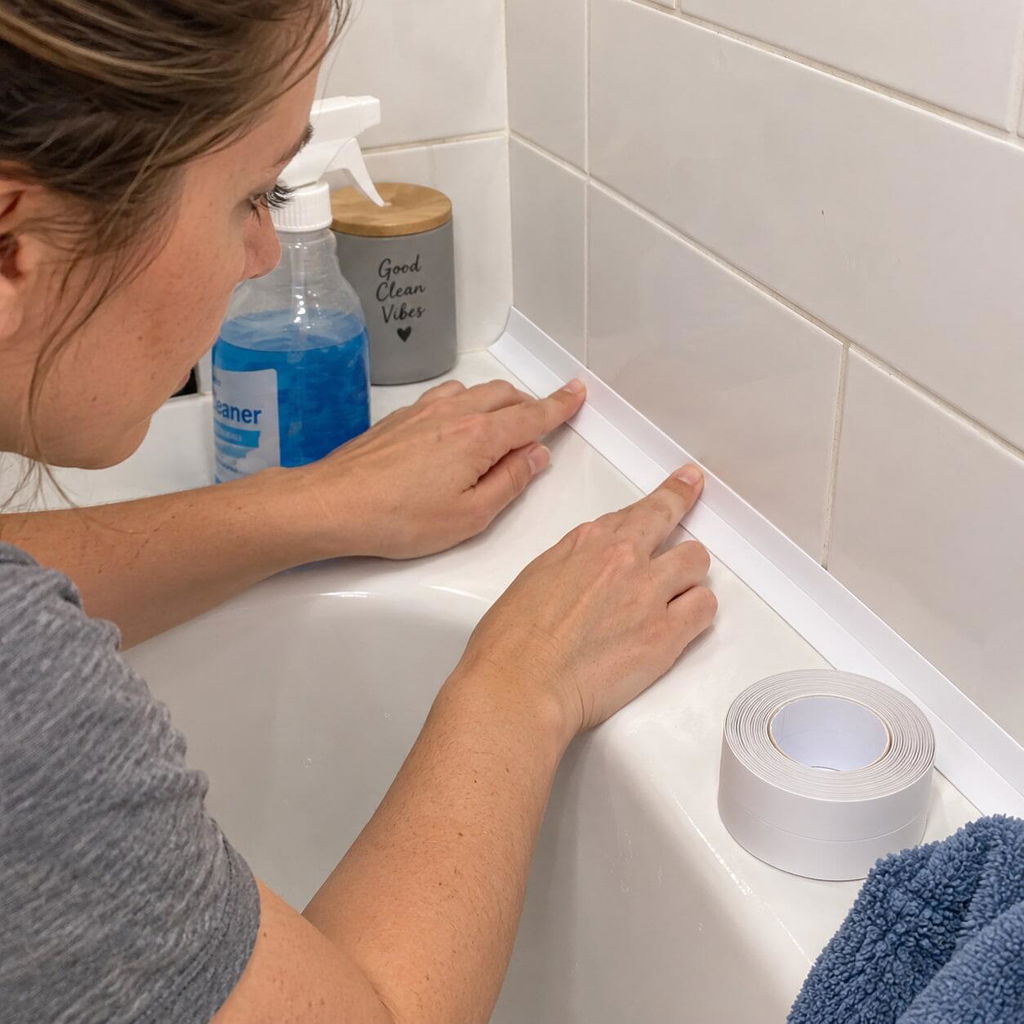
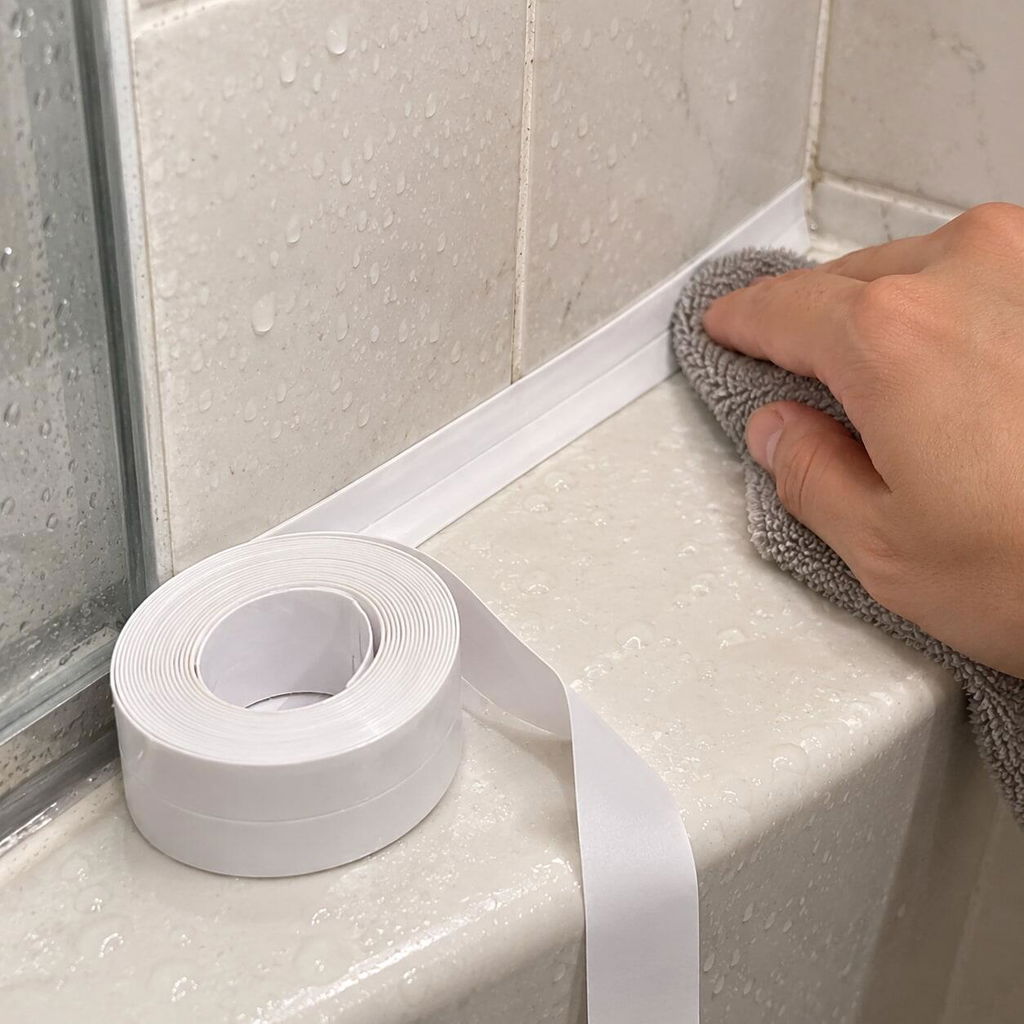
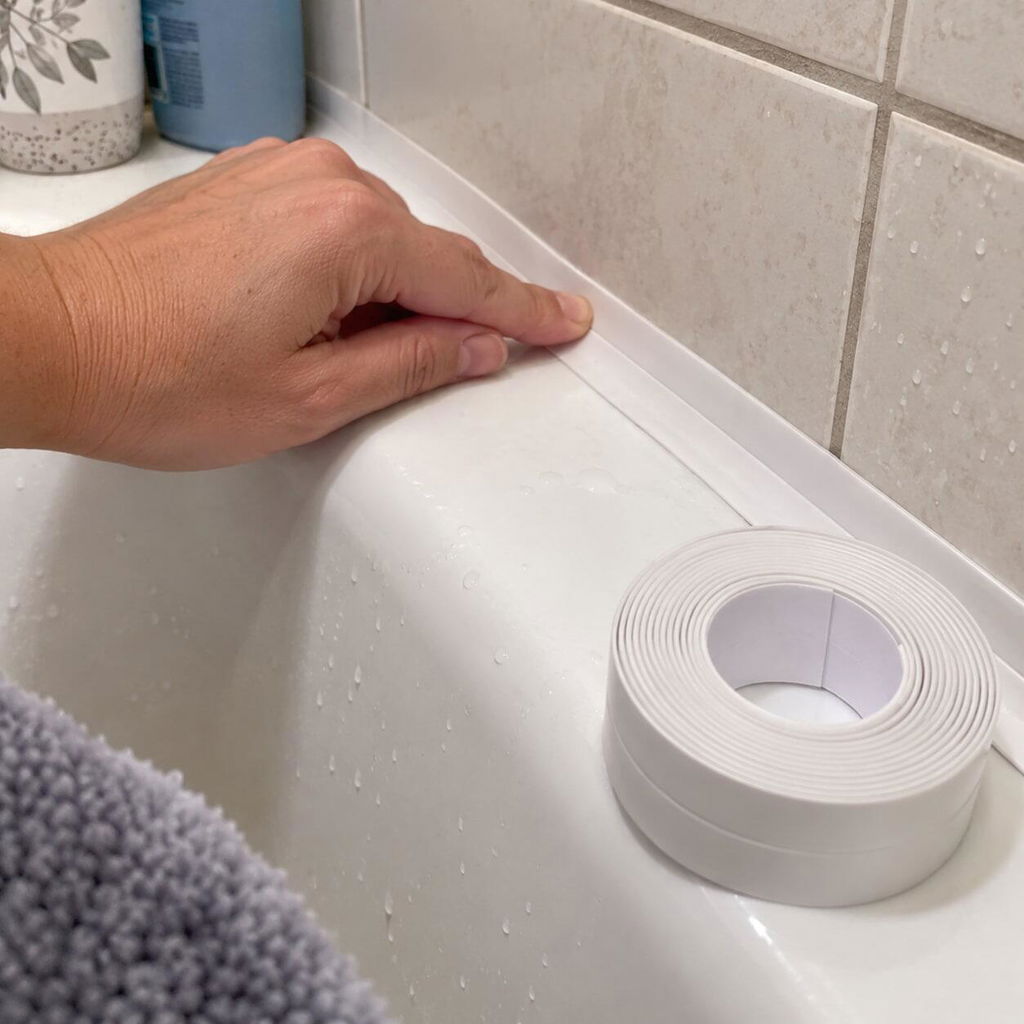
The white strip pressed into the bathtub corner without much trouble. I worked a short section at a time and left it dry for a full day before using the shower.
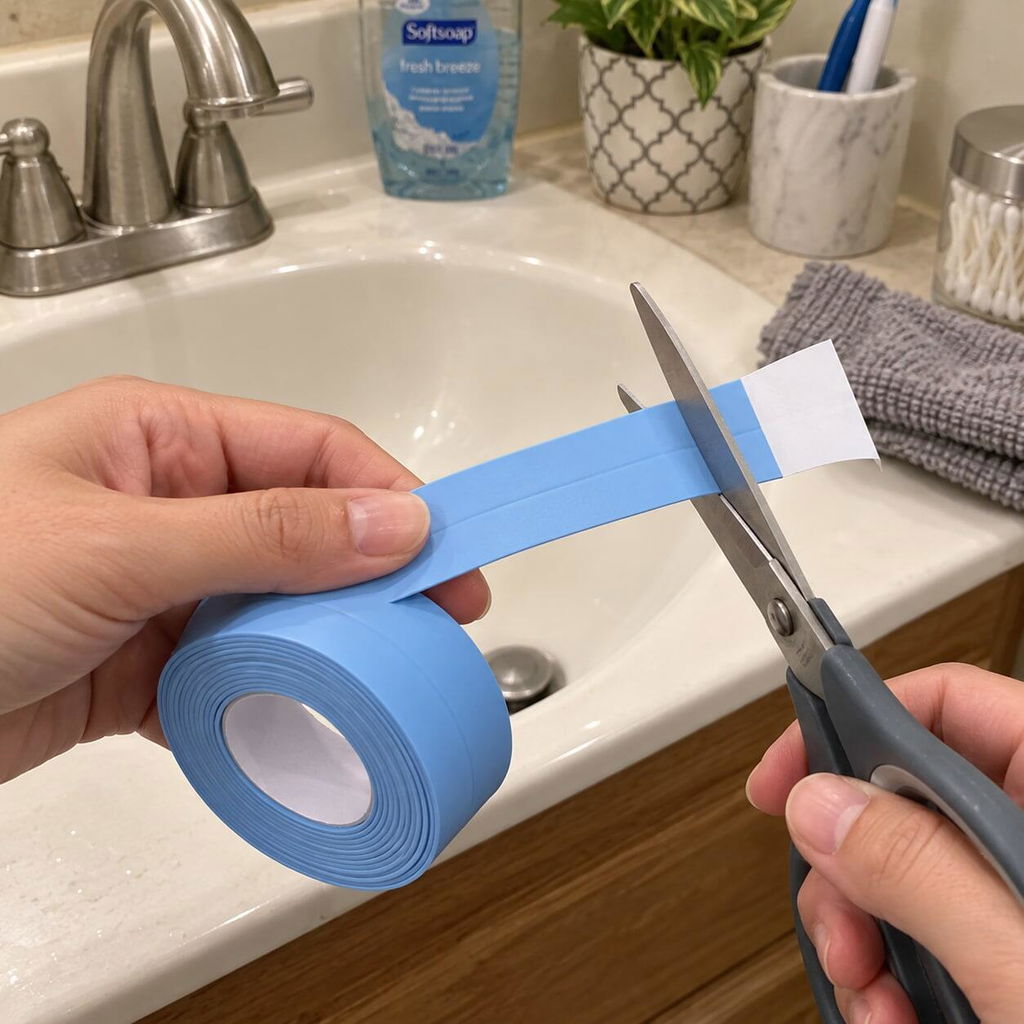
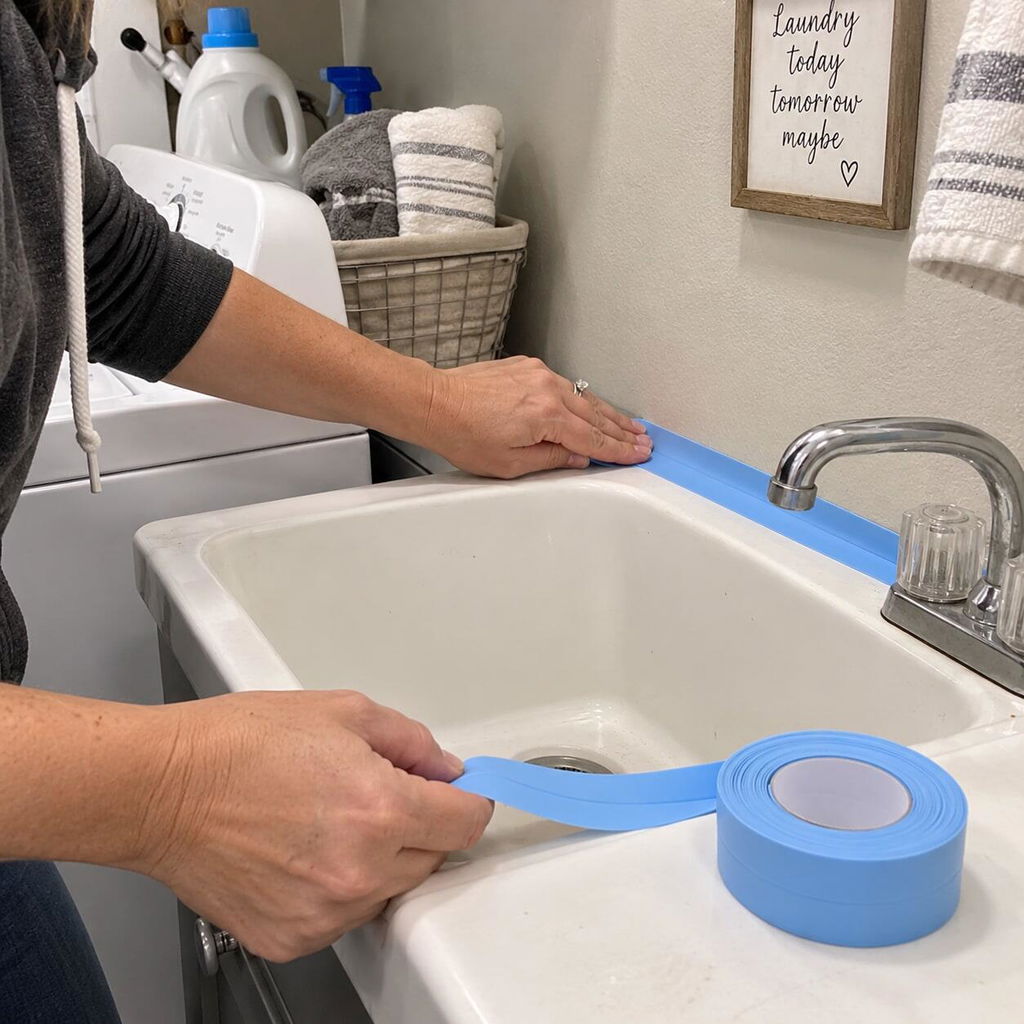
The blue tape was easy to measure and trim with regular household scissors. It folded along the center line and sat neatly around my utility sink.
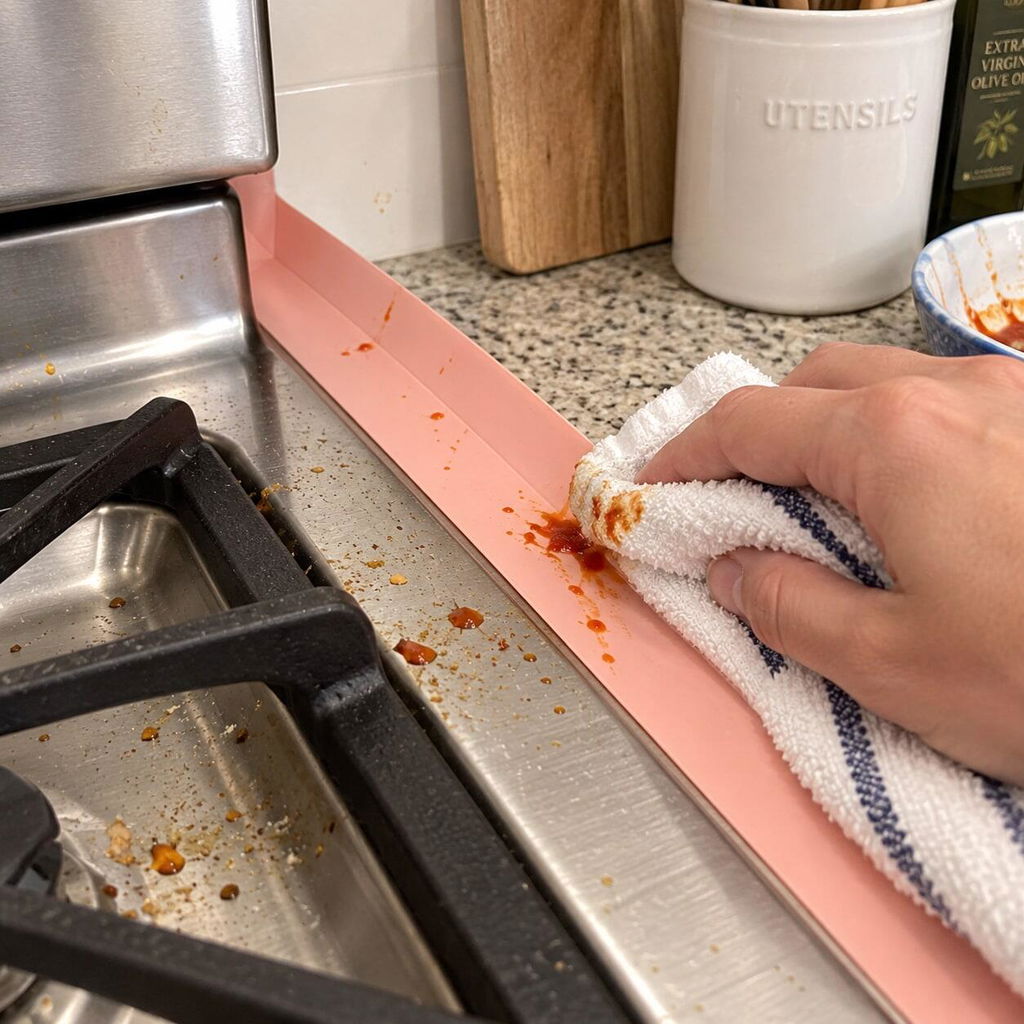
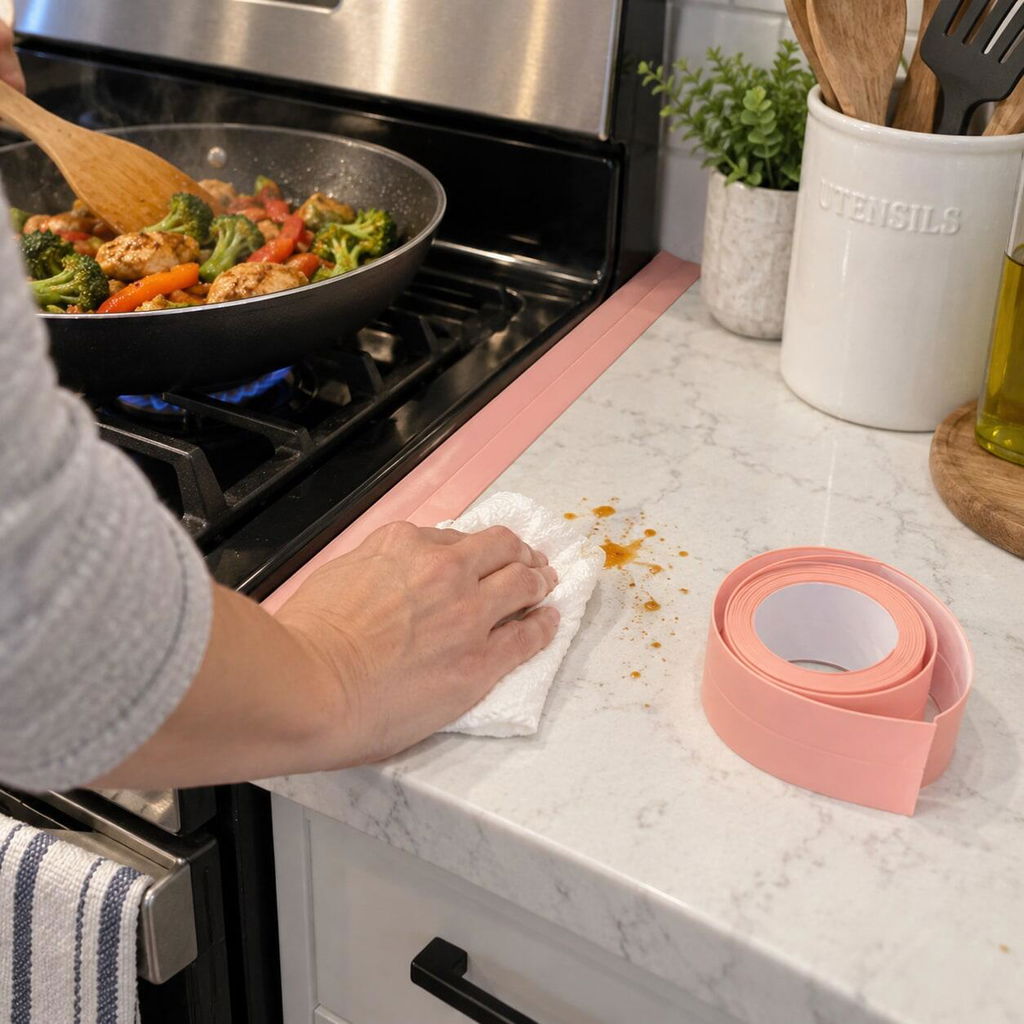
I used the pink strip along the counter seam beside my stove. Cooking splashes wipe off the smooth surface quickly and the color adds a cheerful detail.
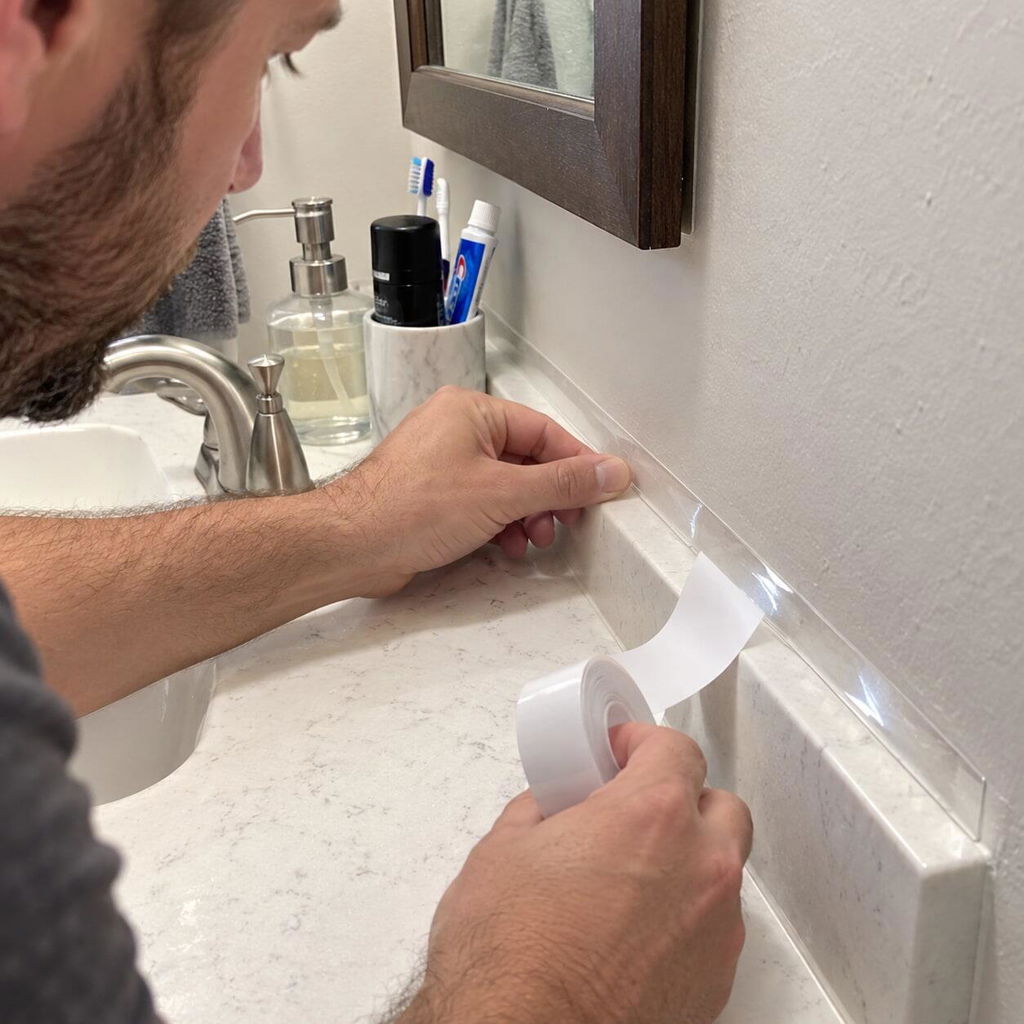
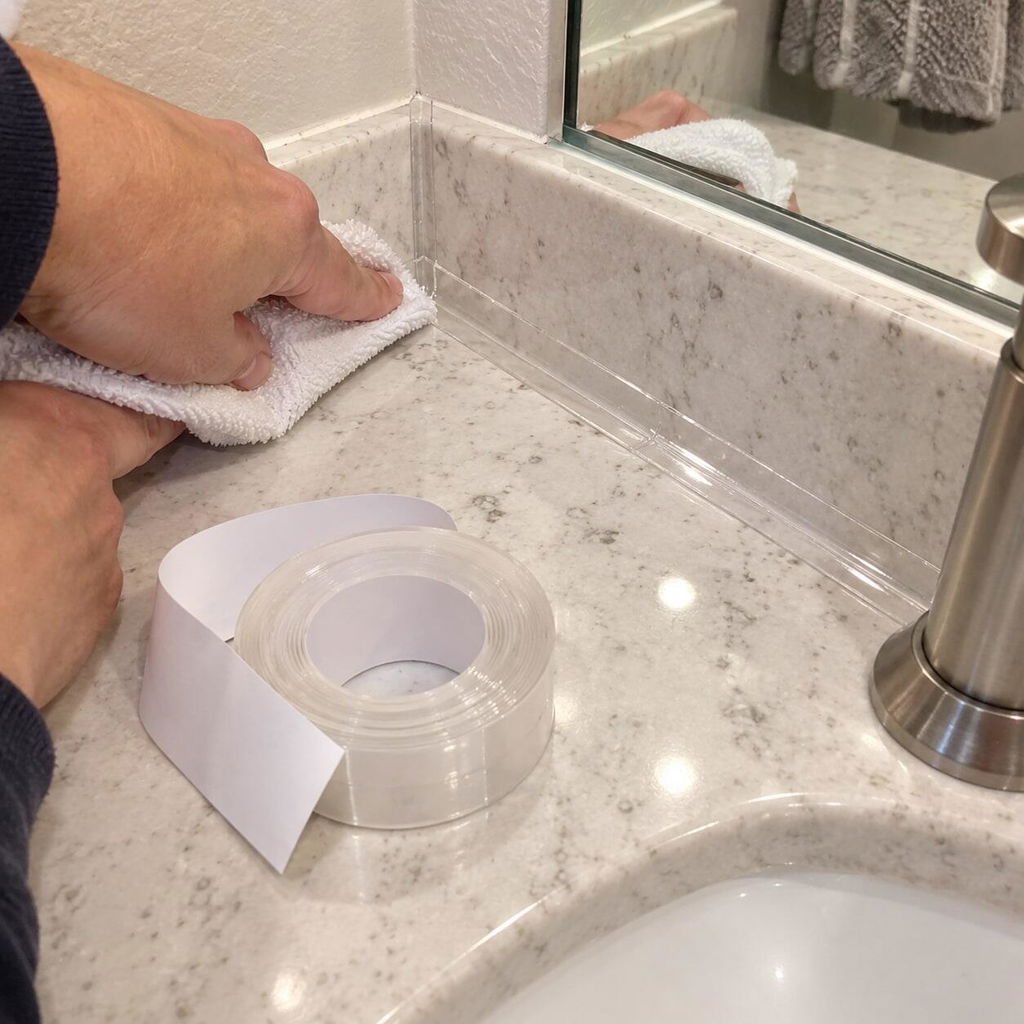
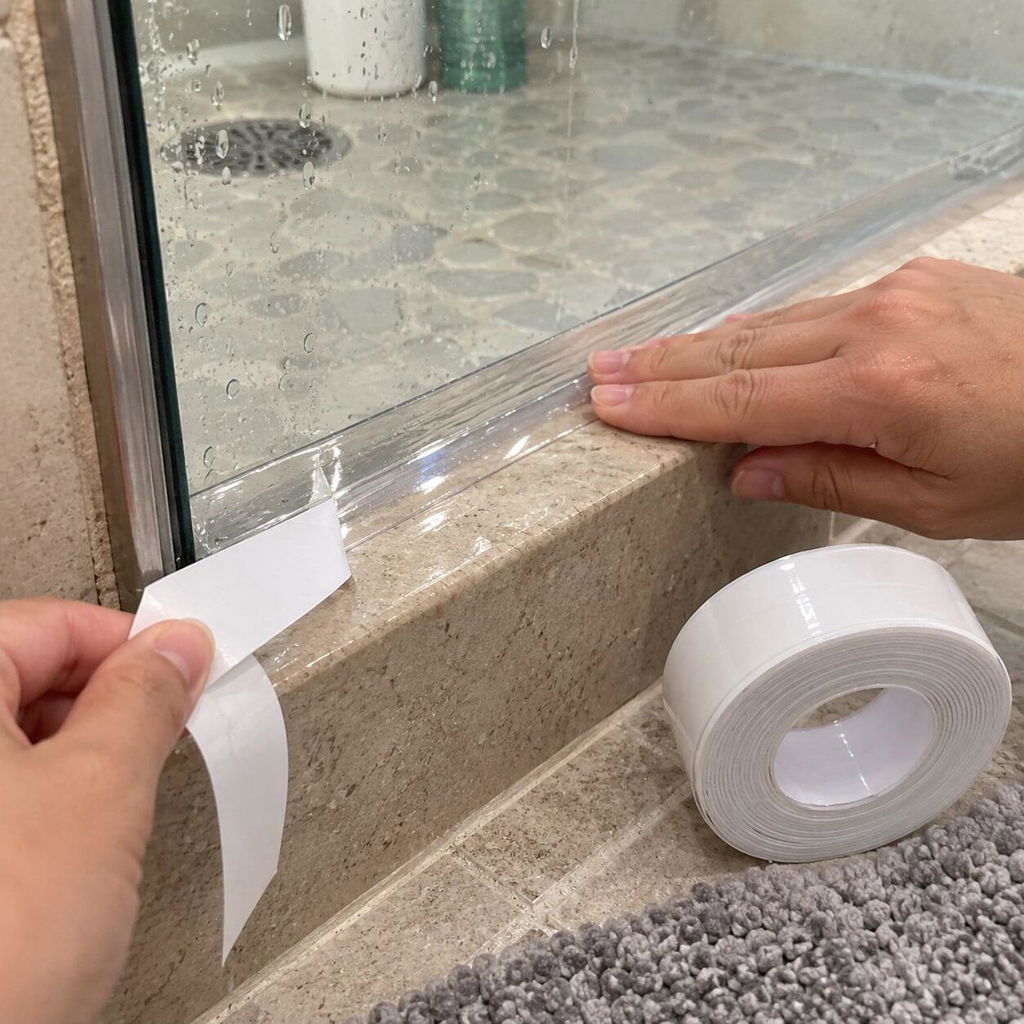
The transparent strip is subtle around my bathroom vanity. I could still see where I was pressing it, and it did not add a heavy white line to the counter.
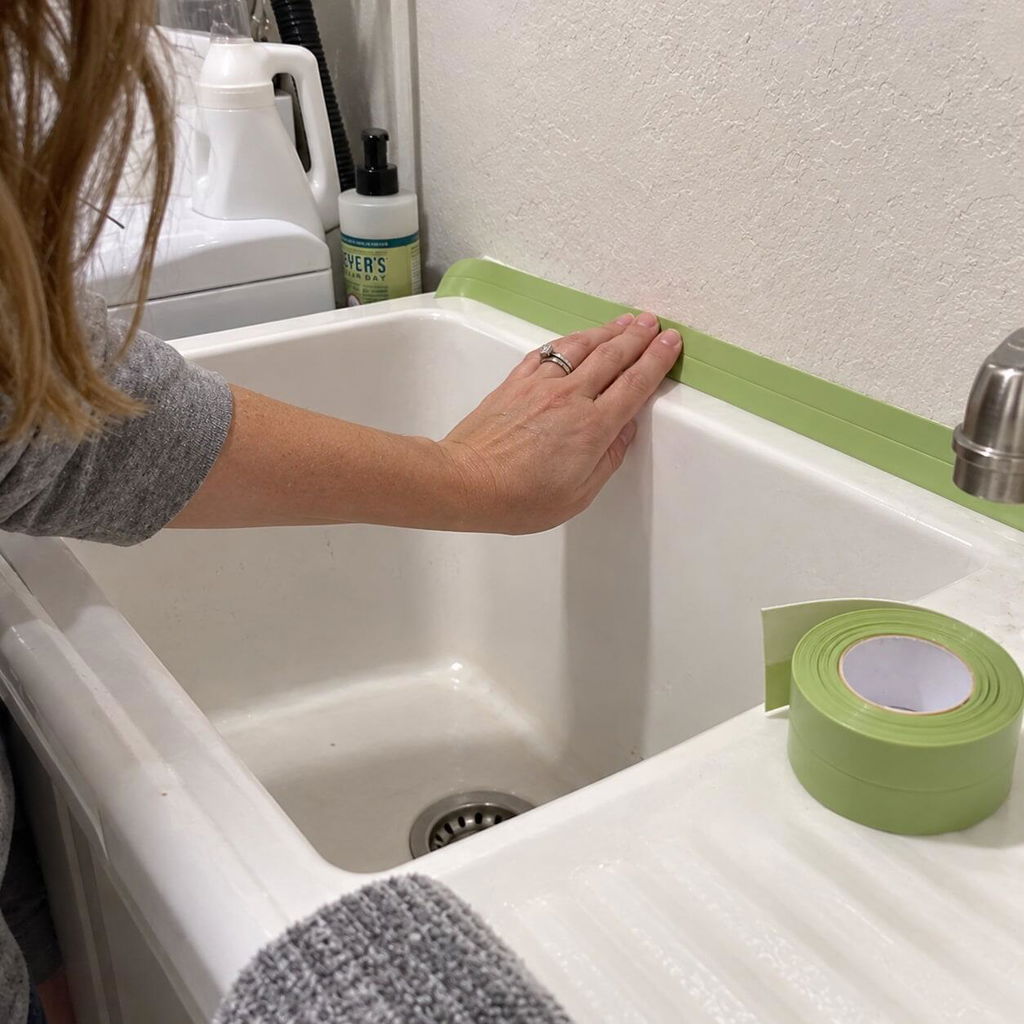
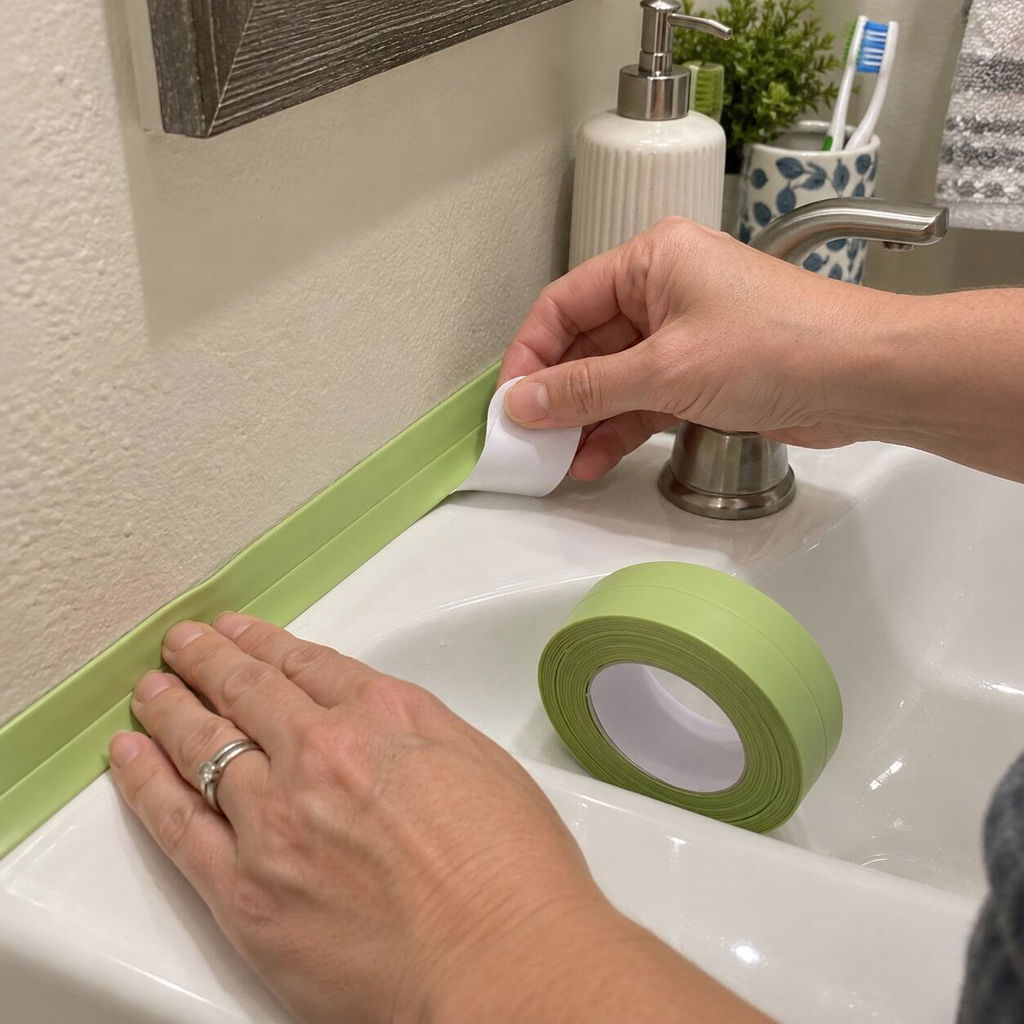
The green roll was flexible enough to follow the back edge of our laundry sink. Peeling a little backing at a time helped me keep the line straight.
The white strip looks clean along the shower ledge and is easy to wipe after use. Preparing a dry surface made the installation much smoother.
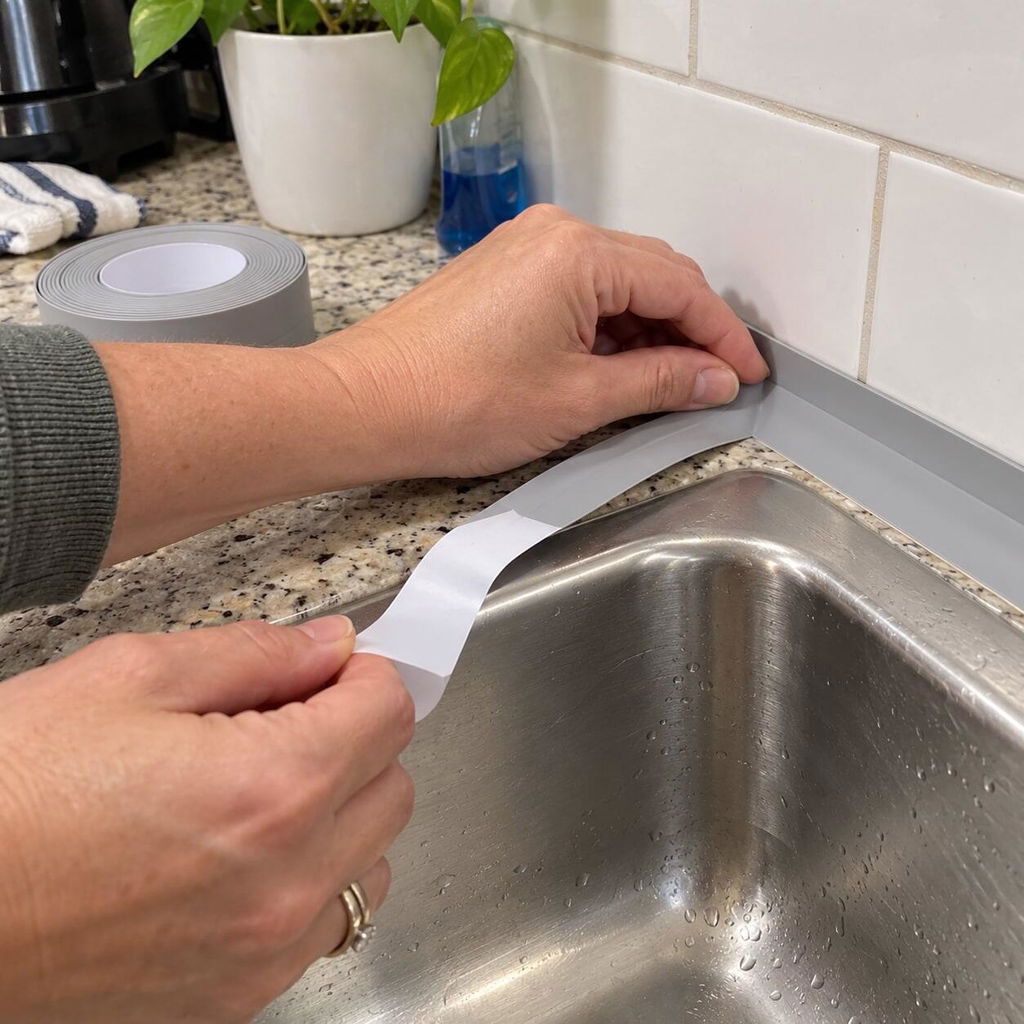
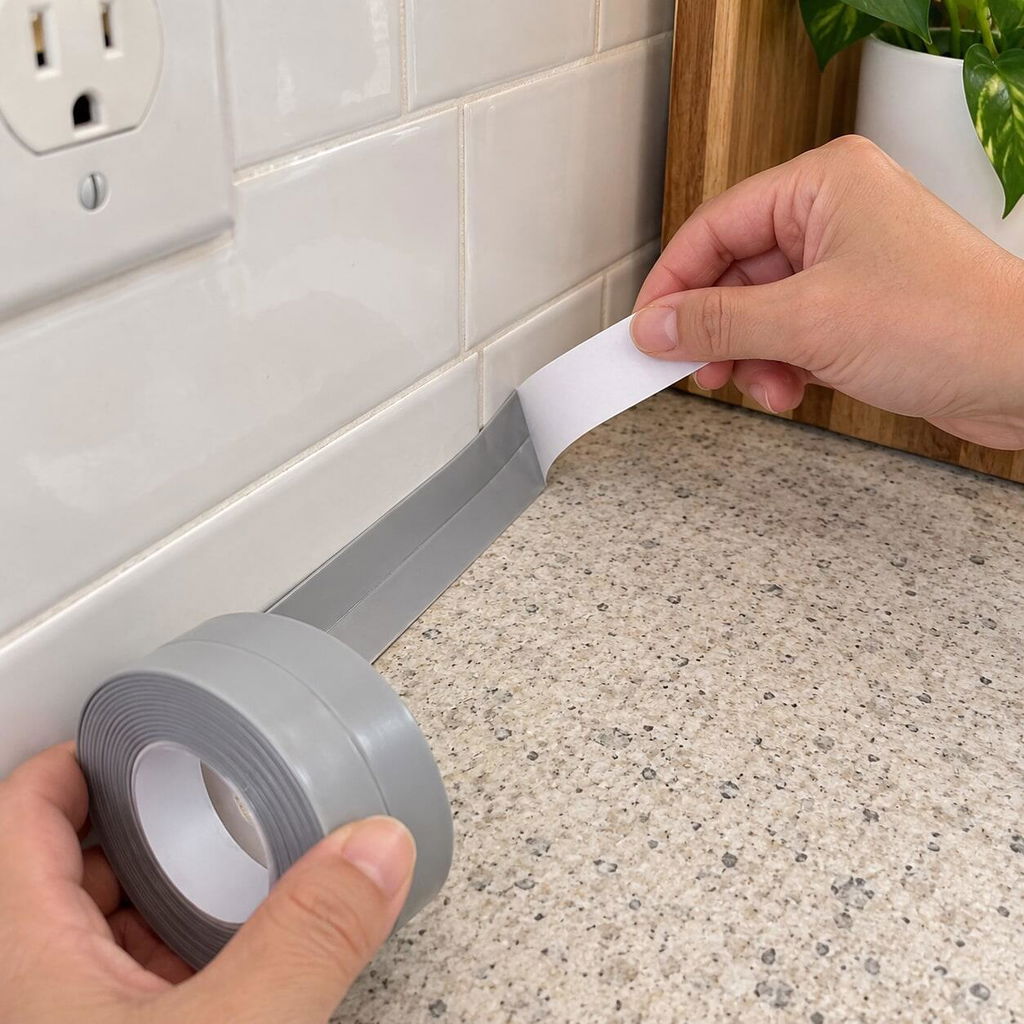
I used the gray tape on a kitchen backsplash seam and liked that I could expose the adhesive gradually. It stayed manageable instead of sticking everywhere at once.
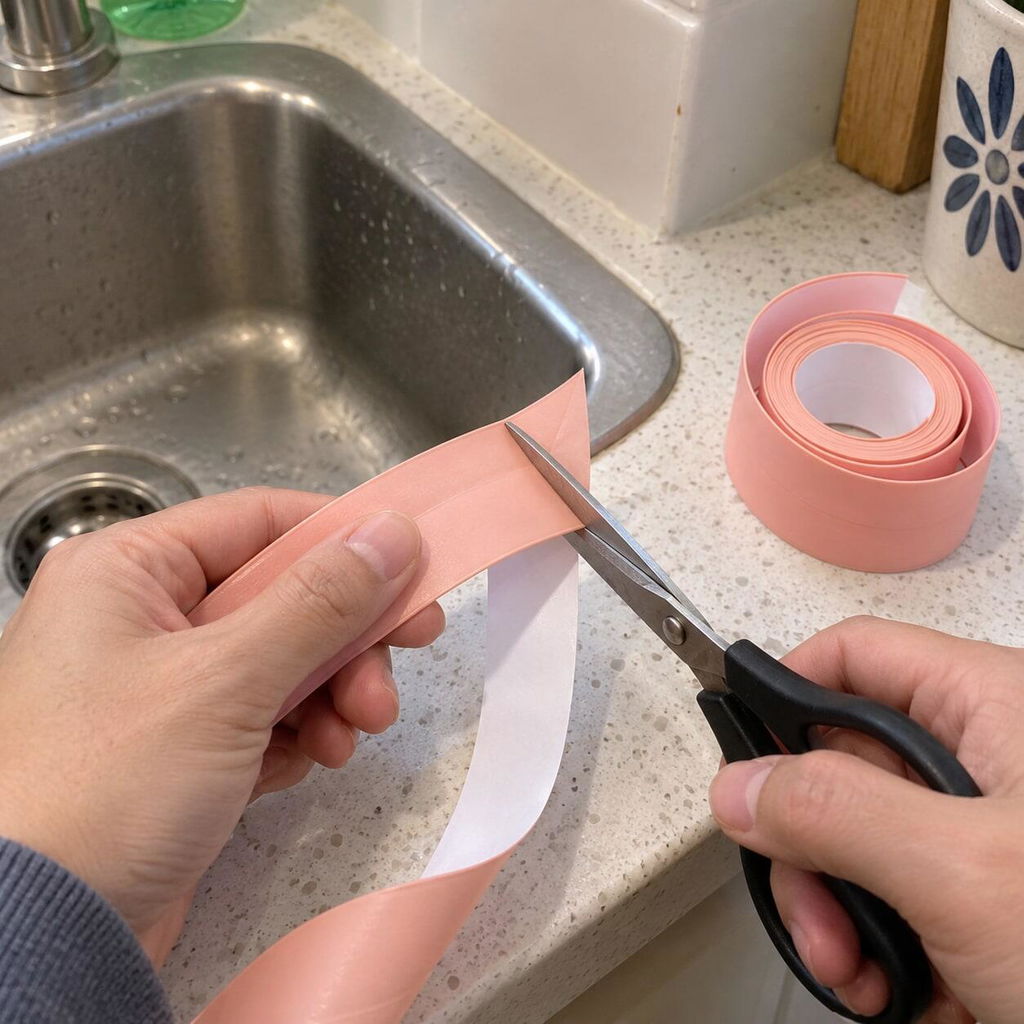
The pink strip itself is flexible and smooth, but getting a clean corner took me two tries. A sharp pair of scissors and careful measuring made the second cut much better.
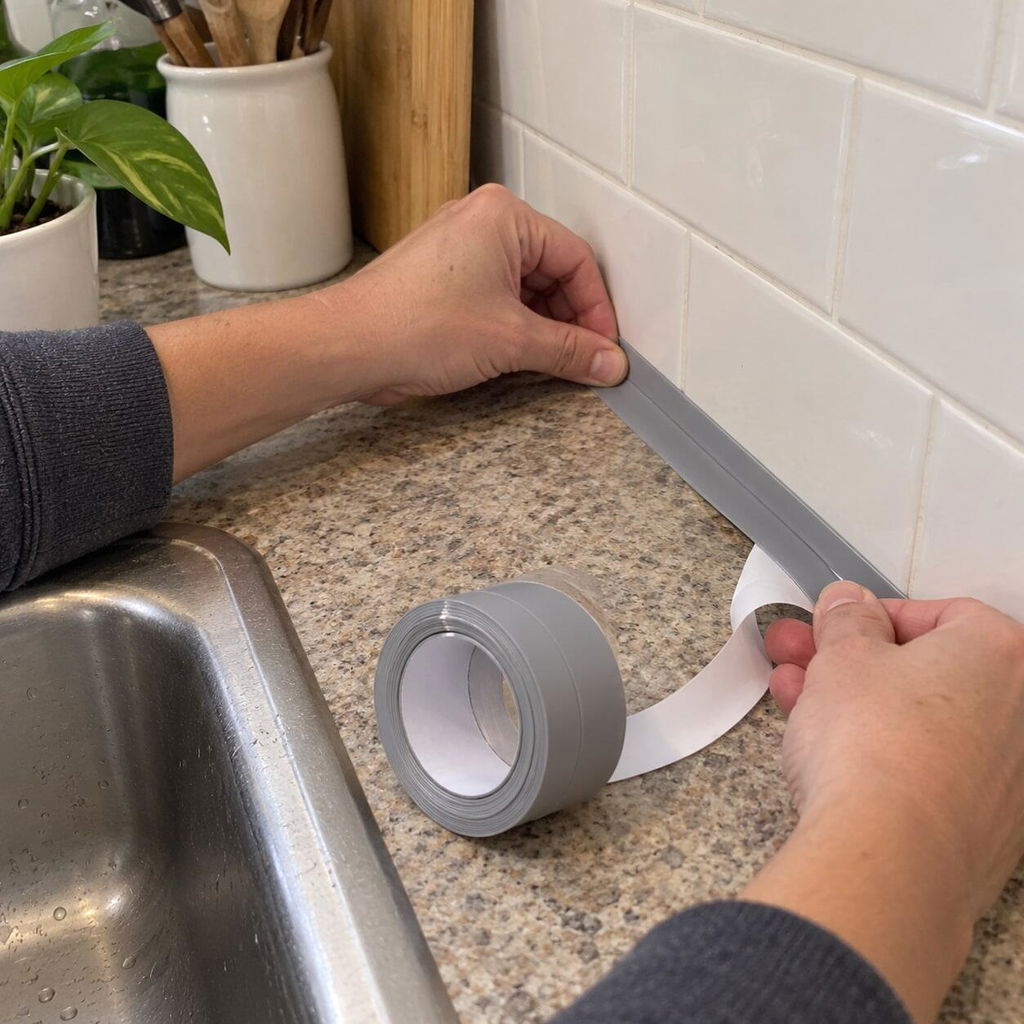
The gray color works nicely with our laminate counter and the center crease helped it sit against both surfaces. I pressed firmly from one end to the other.
The blue strip covered the awkward wall-to-sink seam and was easy to smooth by hand. The roll was long enough for the full back edge with material left over.
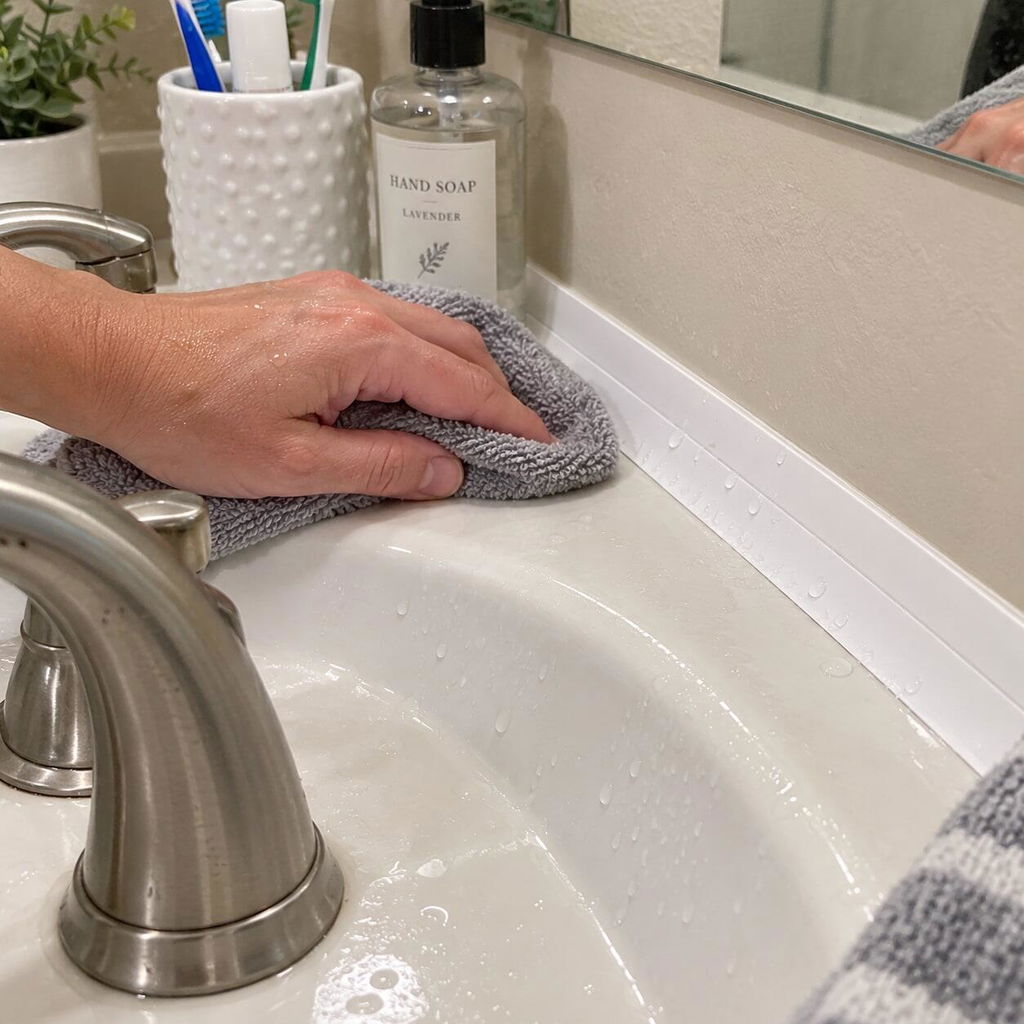
Water beads sit on the smooth white surface and wipe away with a towel. The strip gives the bathroom sink a more finished look without a messy application.
A little warm air made the gray strip easier to shape around the sink corner. I kept the heat low, pressed it down slowly, and the curve came out clean.
I used a dry cloth to press the transparent tape into the vanity corner. It blended with the light counter and did not distract from the stone pattern.
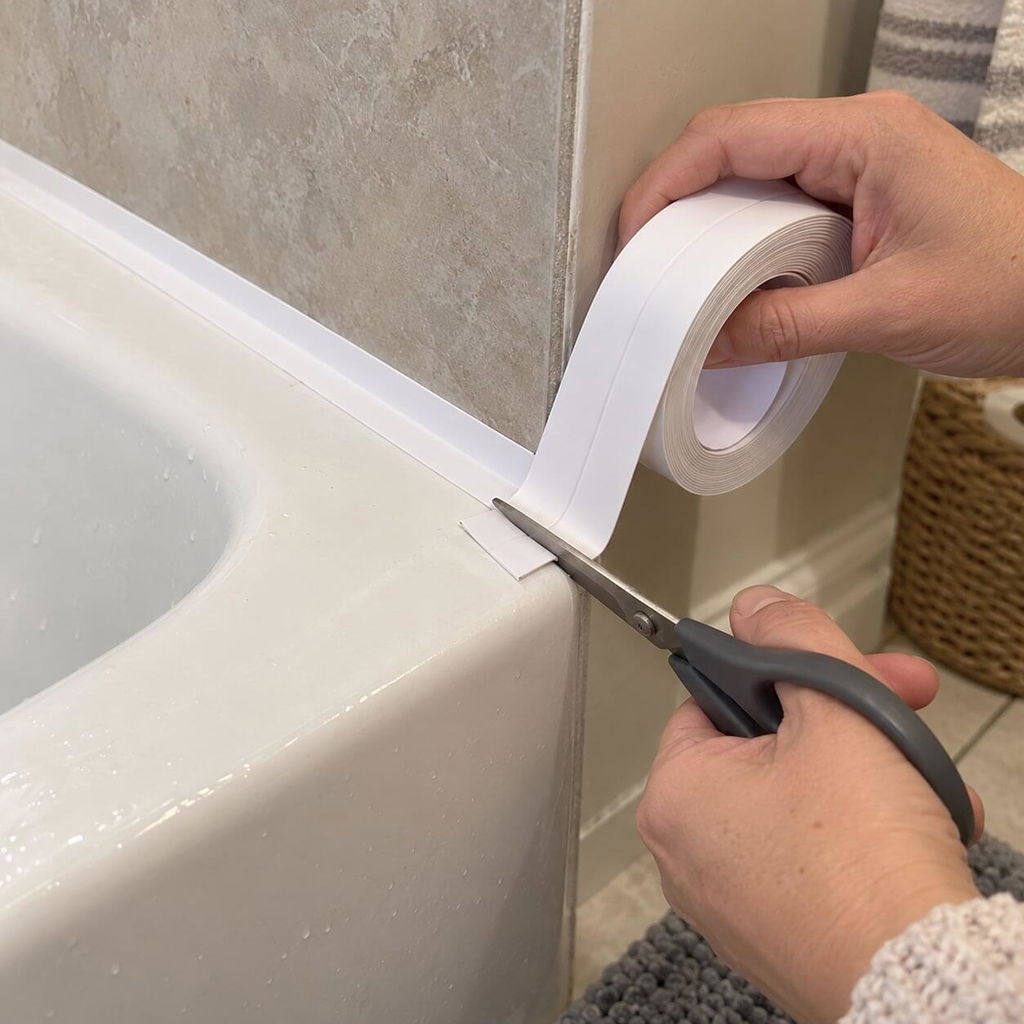
The white tape cut cleanly where the bathtub met the side wall. Measuring first and leaving the protective backing on until each section was ready helped a lot.
I chose pink for the stove-side counter and like how it looks against the white surface. The strip wipes clean after cooking and the folded edge stays neat.
The white strip nearly disappears against our tub and tile. I pressed along the full edge once more after installation and let it rest before getting it wet.
I installed the green version around a small bathroom sink by peeling the backing in short sections. The center fold made the right-angle seam straightforward.
The transparent strip worked well along the glass shower threshold because it does not cover the stone color. Smoothing it slowly kept air pockets to a minimum.
The gray strip gave our sink edge a cleaner look and is easy to wipe after dishes. Surface preparation matters, and I had to redo one damp section before it held properly.