


.gif?w=270&h=480&_f=1)


.gif?w=270&h=480&_f=1)
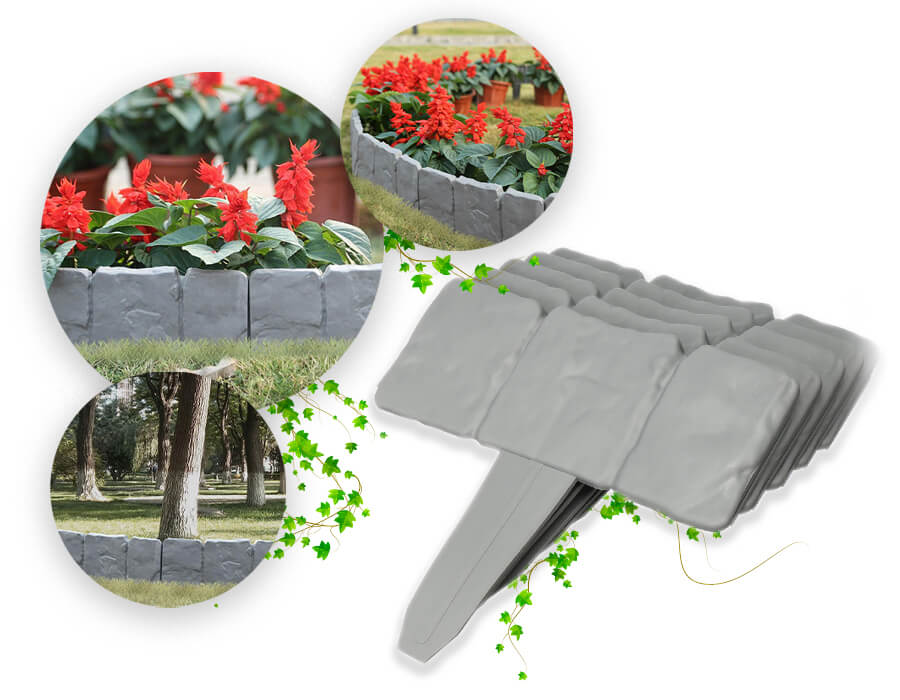
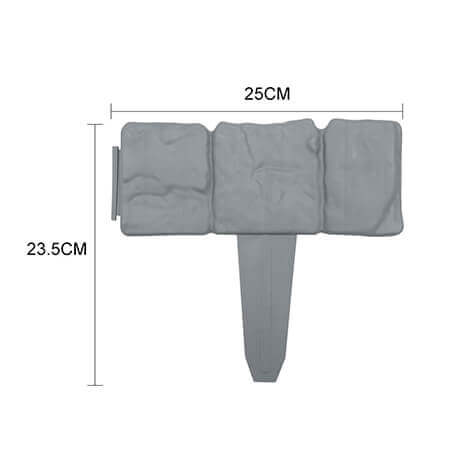
The five sections arrived lightweight but not flimsy. I laid them out on the lawn first, and the side connections made it simple to see how much border one set would cover.
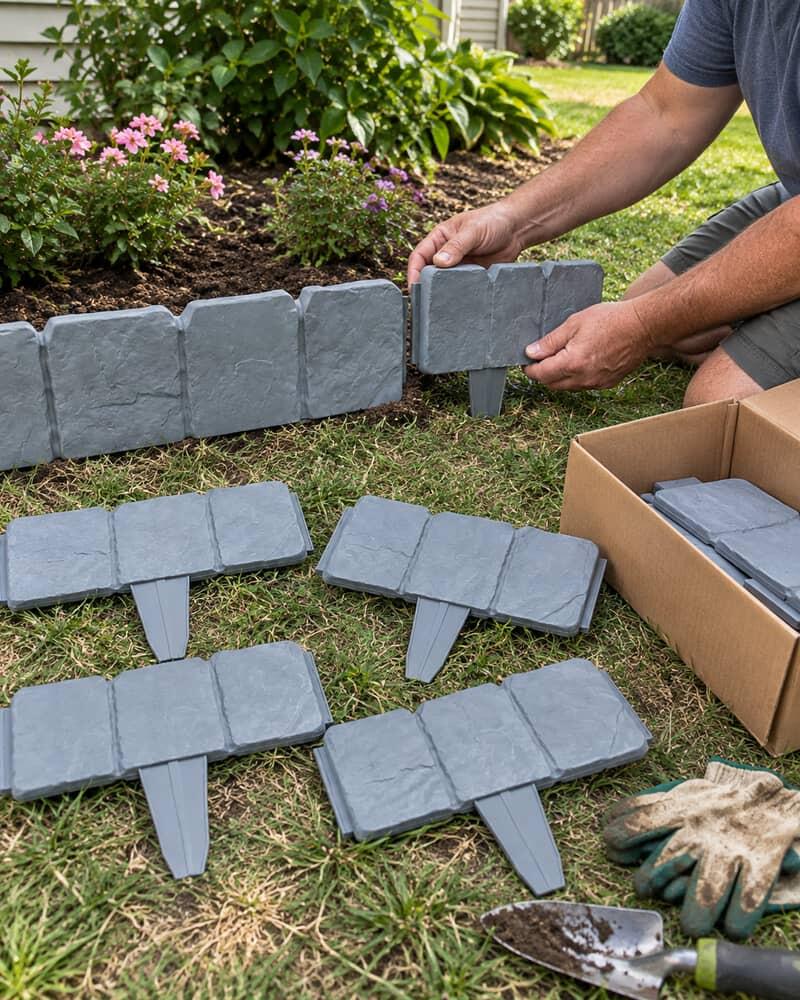
I loosened the ground with a trowel before pressing the stakes in. That worked much better than trying to force them through compacted soil, and the first section stayed upright.
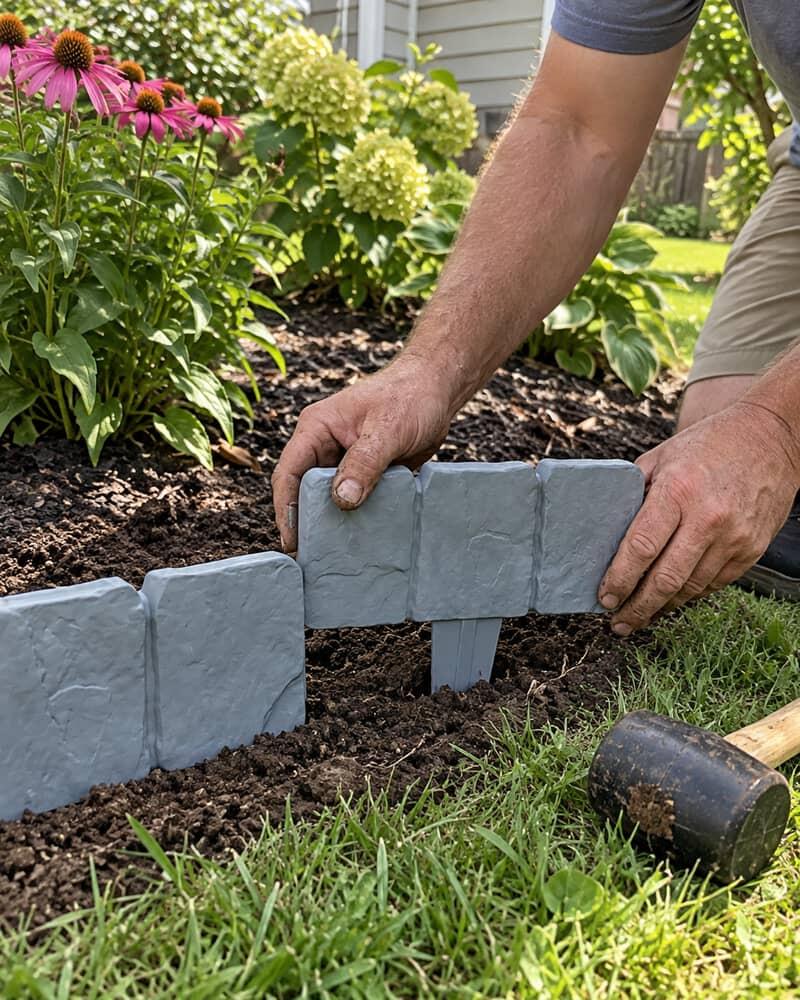
The panels installed quickly with light taps from a rubber mallet. I placed a scrap of wood over the top while tapping so the faux-stone surface would not get marked.
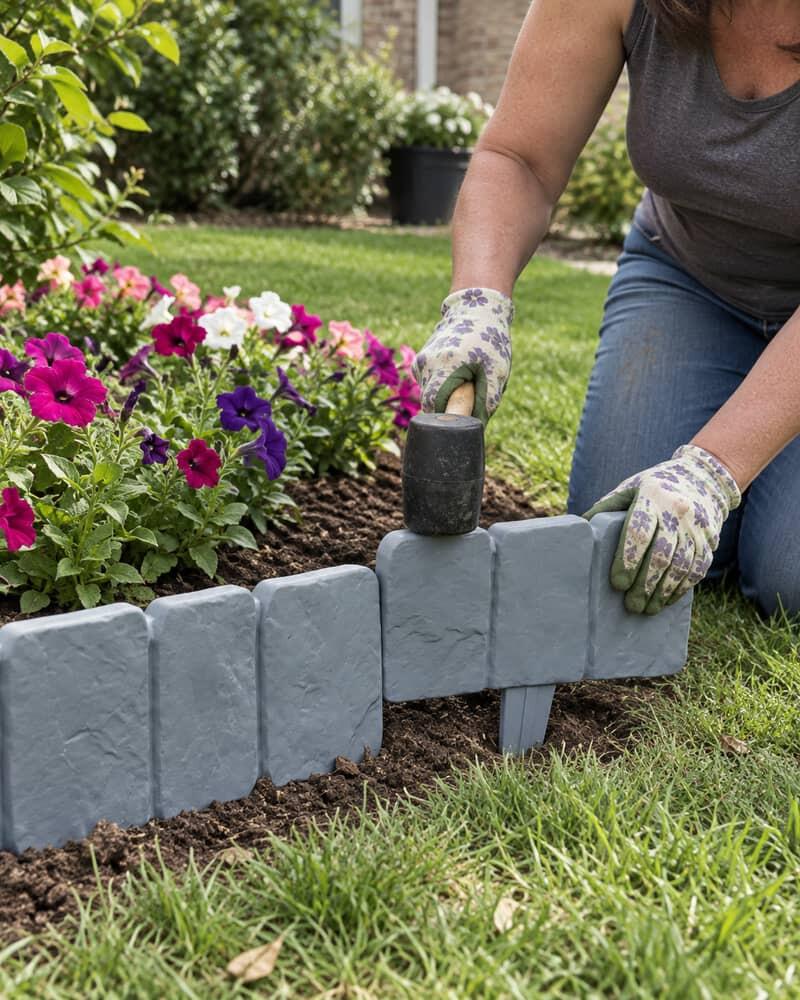
The edging follows a gentle curve well, but I had to reset two pieces to keep the joints from opening. It looks neat now, just not something I would rush on uneven ground.
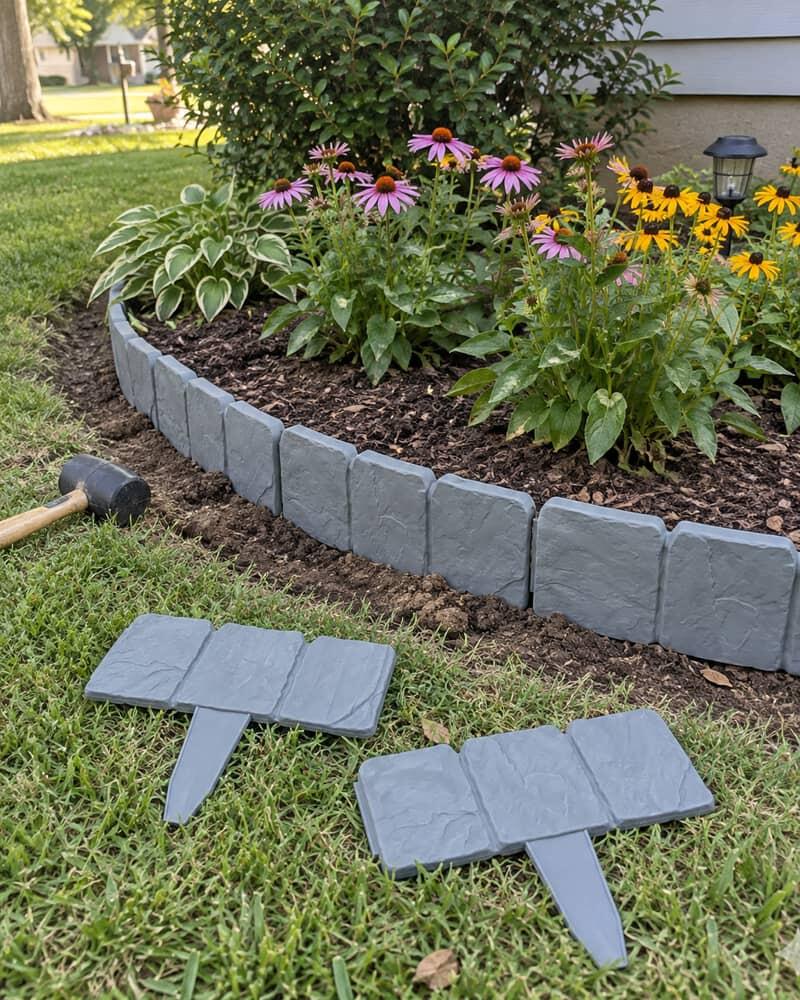
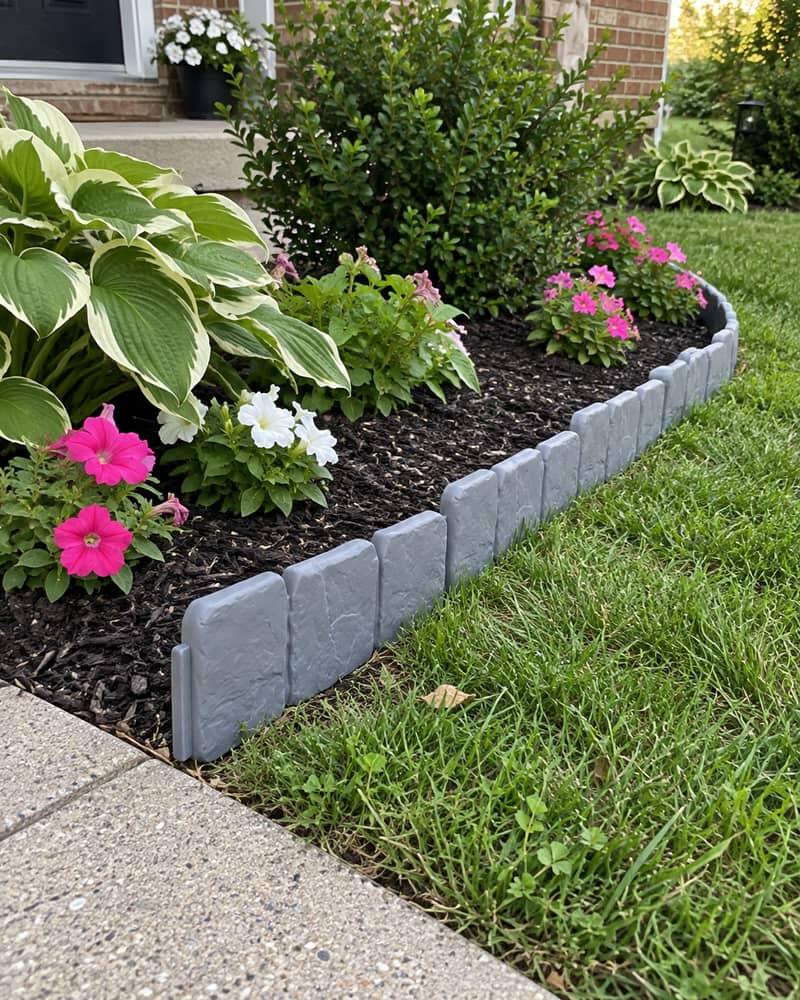
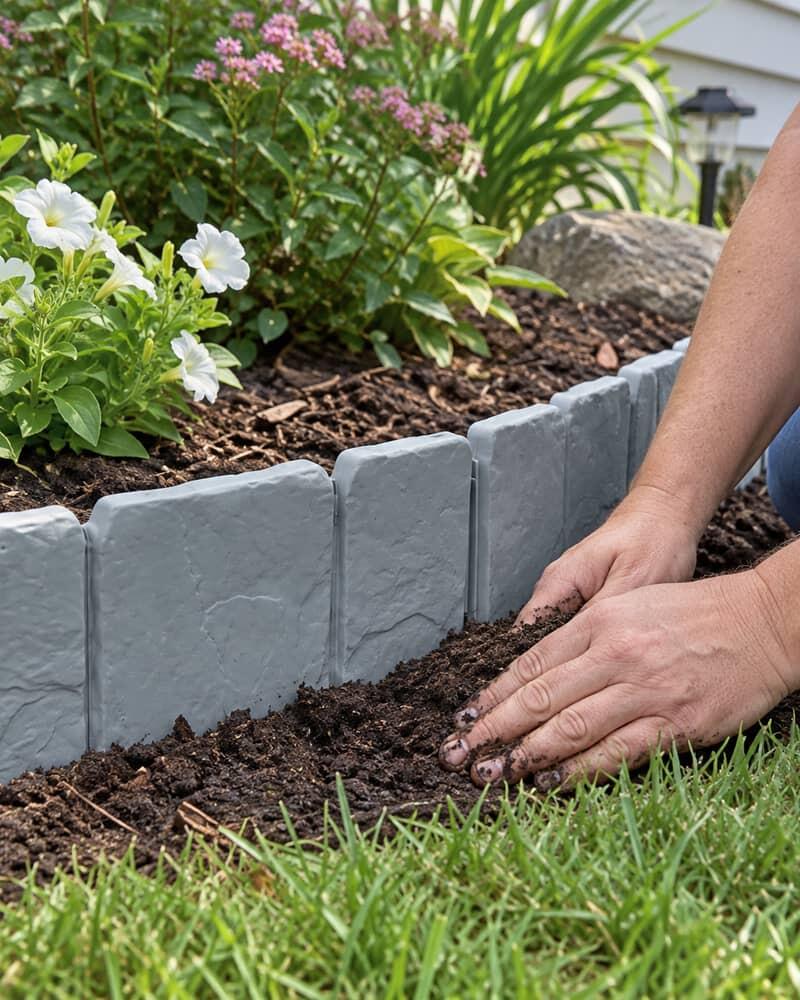
The gray border gives my front bed a finished edge without the cost or weight of real stone. It is low enough that it does not hide the smaller plants.
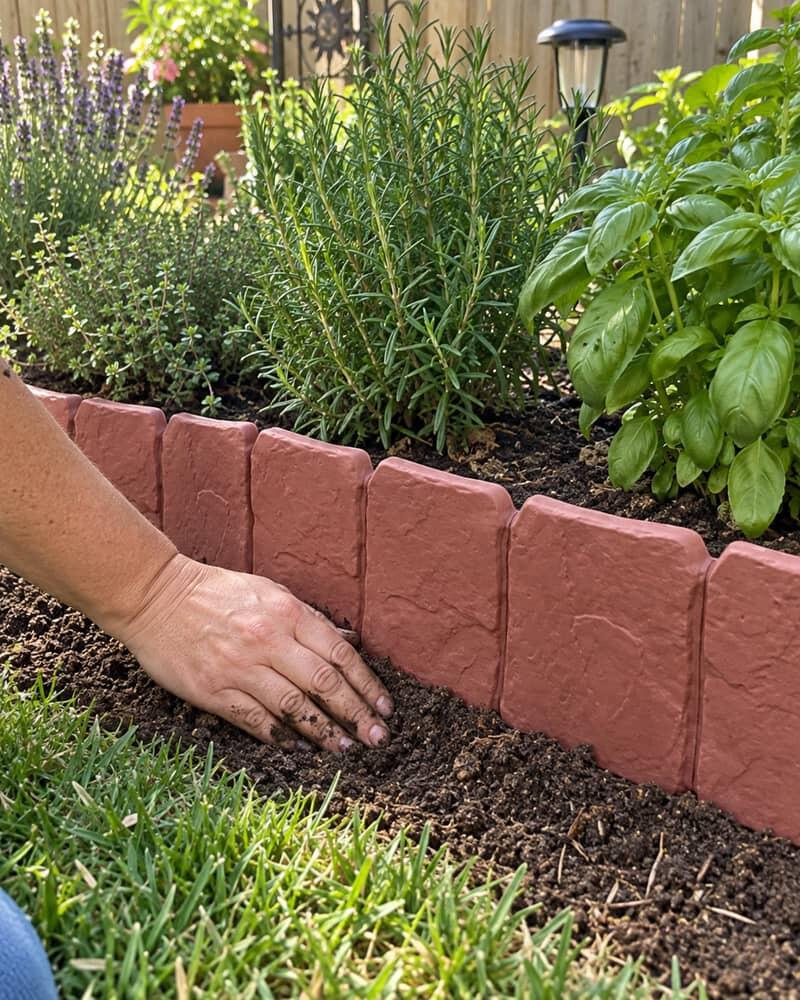
I used the brick-red option next to terracotta pots and it blends in nicely. The pieces are easy to reposition if I decide to make the bed wider later.
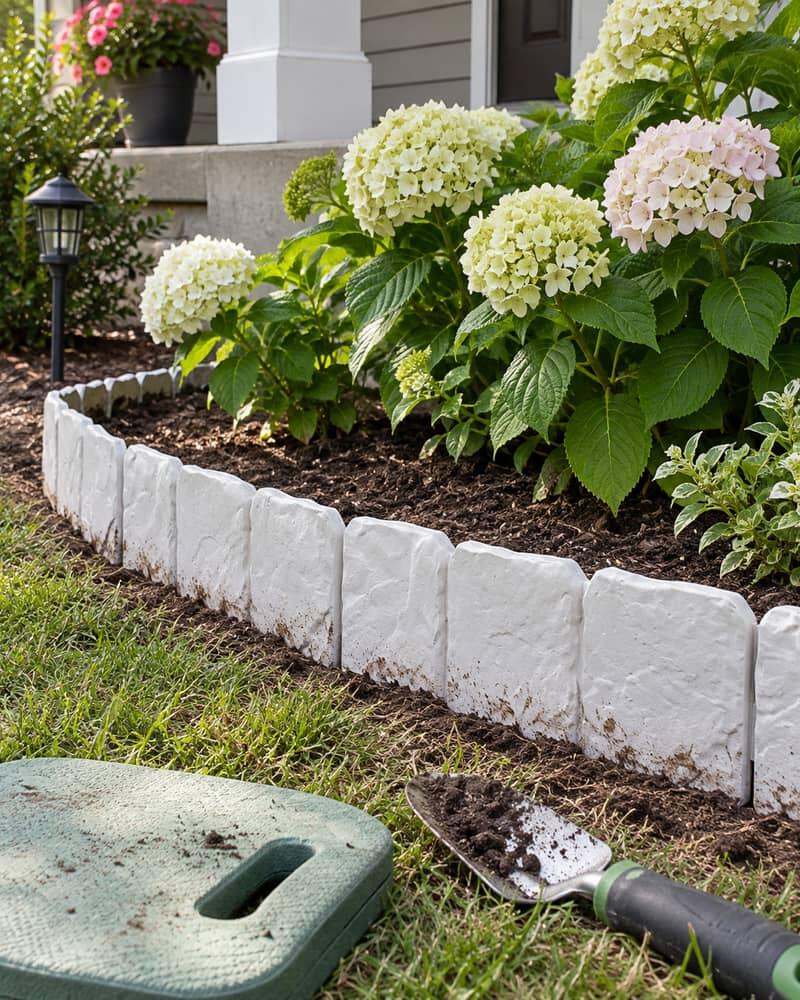
The white panels made the hydrangea bed stand out. The lower edge picked up a little dirt during installation, but it wiped off easily with a damp cloth.
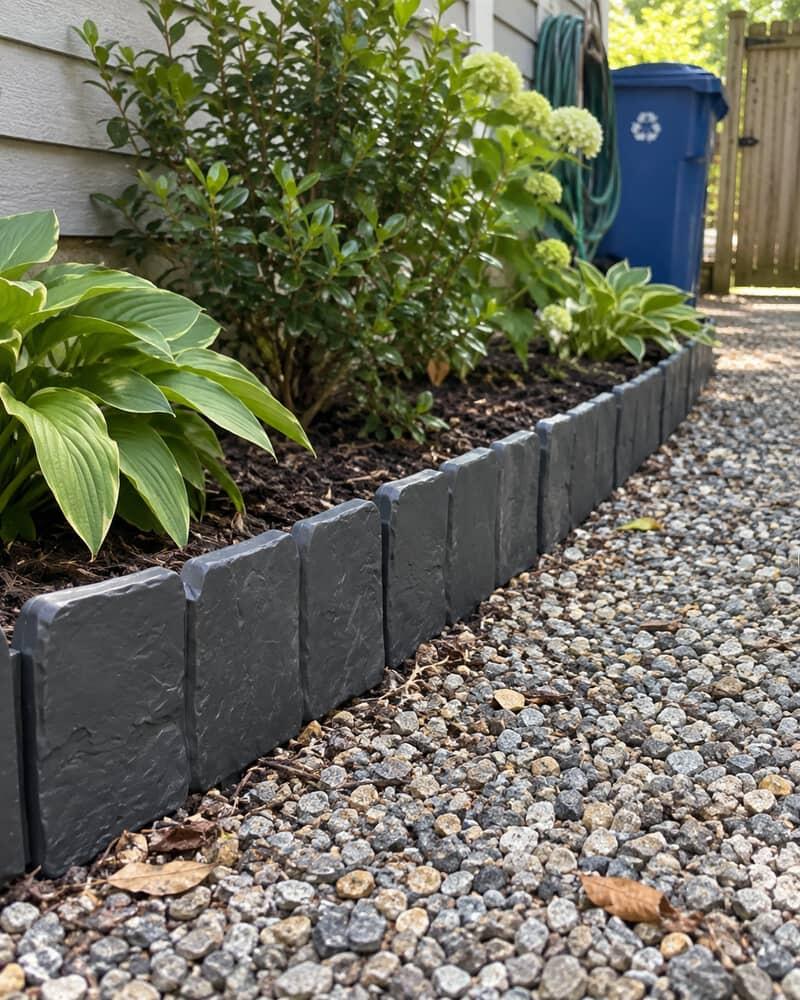
I chose black for a narrow side path and like the simple contrast with the light gravel. The panel seams are visible up close but not distracting from a few feet away.
Two sections click together without special tools. I connected a few on the lawn before setting the stakes, which made it easier to keep the line consistent.
My vegetable bed has shallow roots near one corner, so one panel took extra positioning. Once I shifted it a few inches, the border sat level and stayed put.
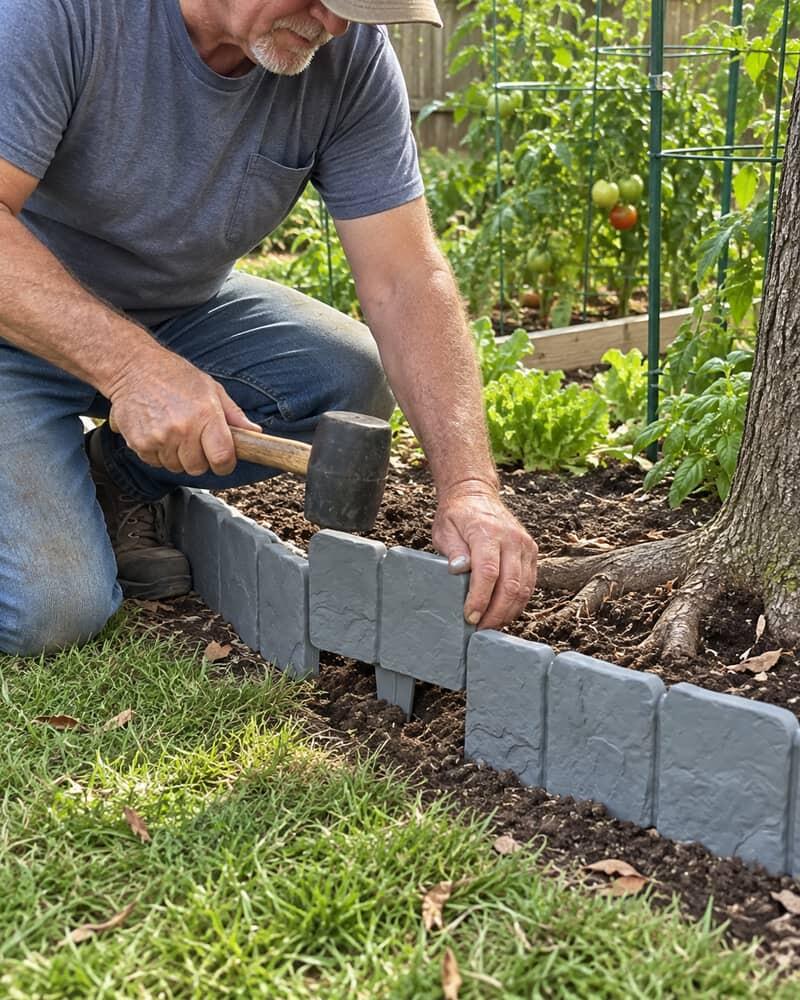
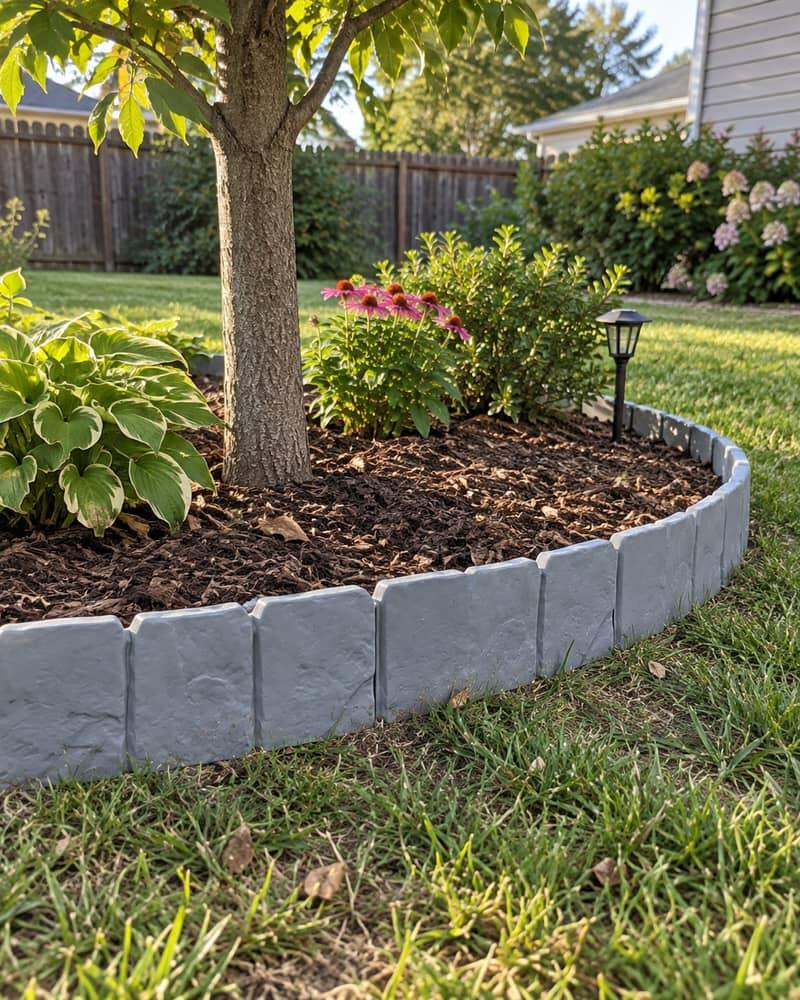
I made a broad ring around a young tree and added mulch inside. The separate panels let me create a gradual curve instead of a stiff-looking square.
The edging keeps loose soil from washing toward my small pond. I pressed each piece into damp ground by hand and checked the joints after the first rain.
The brick-red border separates my vegetable rows from the walking path and makes watering less messy. It is decorative, but the low height is practical too.
Five white pieces were enough for the short side of my mailbox planting. The result looks cleaner without making the small bed feel boxed in.
The black version works well next to our concrete pavers. I used a gentle angle at the corner rather than forcing a sharp bend, and the layout feels more natural.
I connected the loose panels first and placed the row where I wanted it. That let me change the shape before pushing any of the center stakes into the soil.
A few grass clippings collect against the textured face after mowing, but a small brush clears them in a minute. The edging has stayed aligned through regular yard work.
The gray surface has picked up normal dust and water spots, which actually makes it look less plastic. Nothing has warped or leaned after several wet weeks.
I used a flexible tape along the bed edge before deciding how many sets to buy. The individual sections cover a gentle curve well when the ground is prepared evenly.
The completed gray border follows the bed without being perfectly formal. It keeps the mulch contained and gives the yard a cleaner look from the patio.